Artificial intelligence is giving billions the ability to create photos and video bringing ideas to life with single prompts. Getting generative ai to actually produce the content you envision takes a little more work though.
Models like Google’s Nano Banana allow marketers, designers, and filmmakers to direct visual scenes the way a cinematographer would. By using traditional photography and filmmaking shot types in your prompts, you can create consistent, cinematic visuals that feel intentional and professional. Learning the language can help you work with AI to get exactly the output you’re looking for.
In this guide, we’ll walk through every major category of shot used in cinematography and photography, plus show you how to combine them for cinematic results in AI image generation.
Why Camera Angles and Composition Matter in AI Imagery
Whether you’re creating a brand photo, an ad scene, or an AI-generated video concept, the camera angle determines how your audience feels about the subject.
A high angle might make someone look small and vulnerable. A low angle can make them look powerful. Even subtle differences like lens choice or lighting can completely change the tone.
When using tools like Nano Banana, describing these details gives the model cinematic context. Instead of just saying “a woman in an office,” try “a cinematic medium close-up of a woman in an office, soft light, shallow depth of field.” That’s when the AI starts to act like your camera operator. Today let’s start with two of the most fundamental components of creating images, shot size and camera angle.
Shot Size: How Close or Far the Camera Is
Each shot size controls how much of the subject or scene is visible.
Extreme Wide Shot (EWS): Shows the environment; subject appears small. Great for establishing scale.
Wide Shot (WS): Full body view with surrounding context.
Medium Shot (MS): Waist-up framing used for storytelling balance.
Medium Close-Up (MCU): Chest and head framing for emotional connection.
Close-Up (CU): Focused on the face or key detail.
Extreme Close-Up (ECU): Macro-level emotion or symbolism (like an eye or hand).
Prompt example:
Cinematic medium close-up of a woman speaking confidently, warm lighting, shallow depth of field.
Now let’s look at some example images.
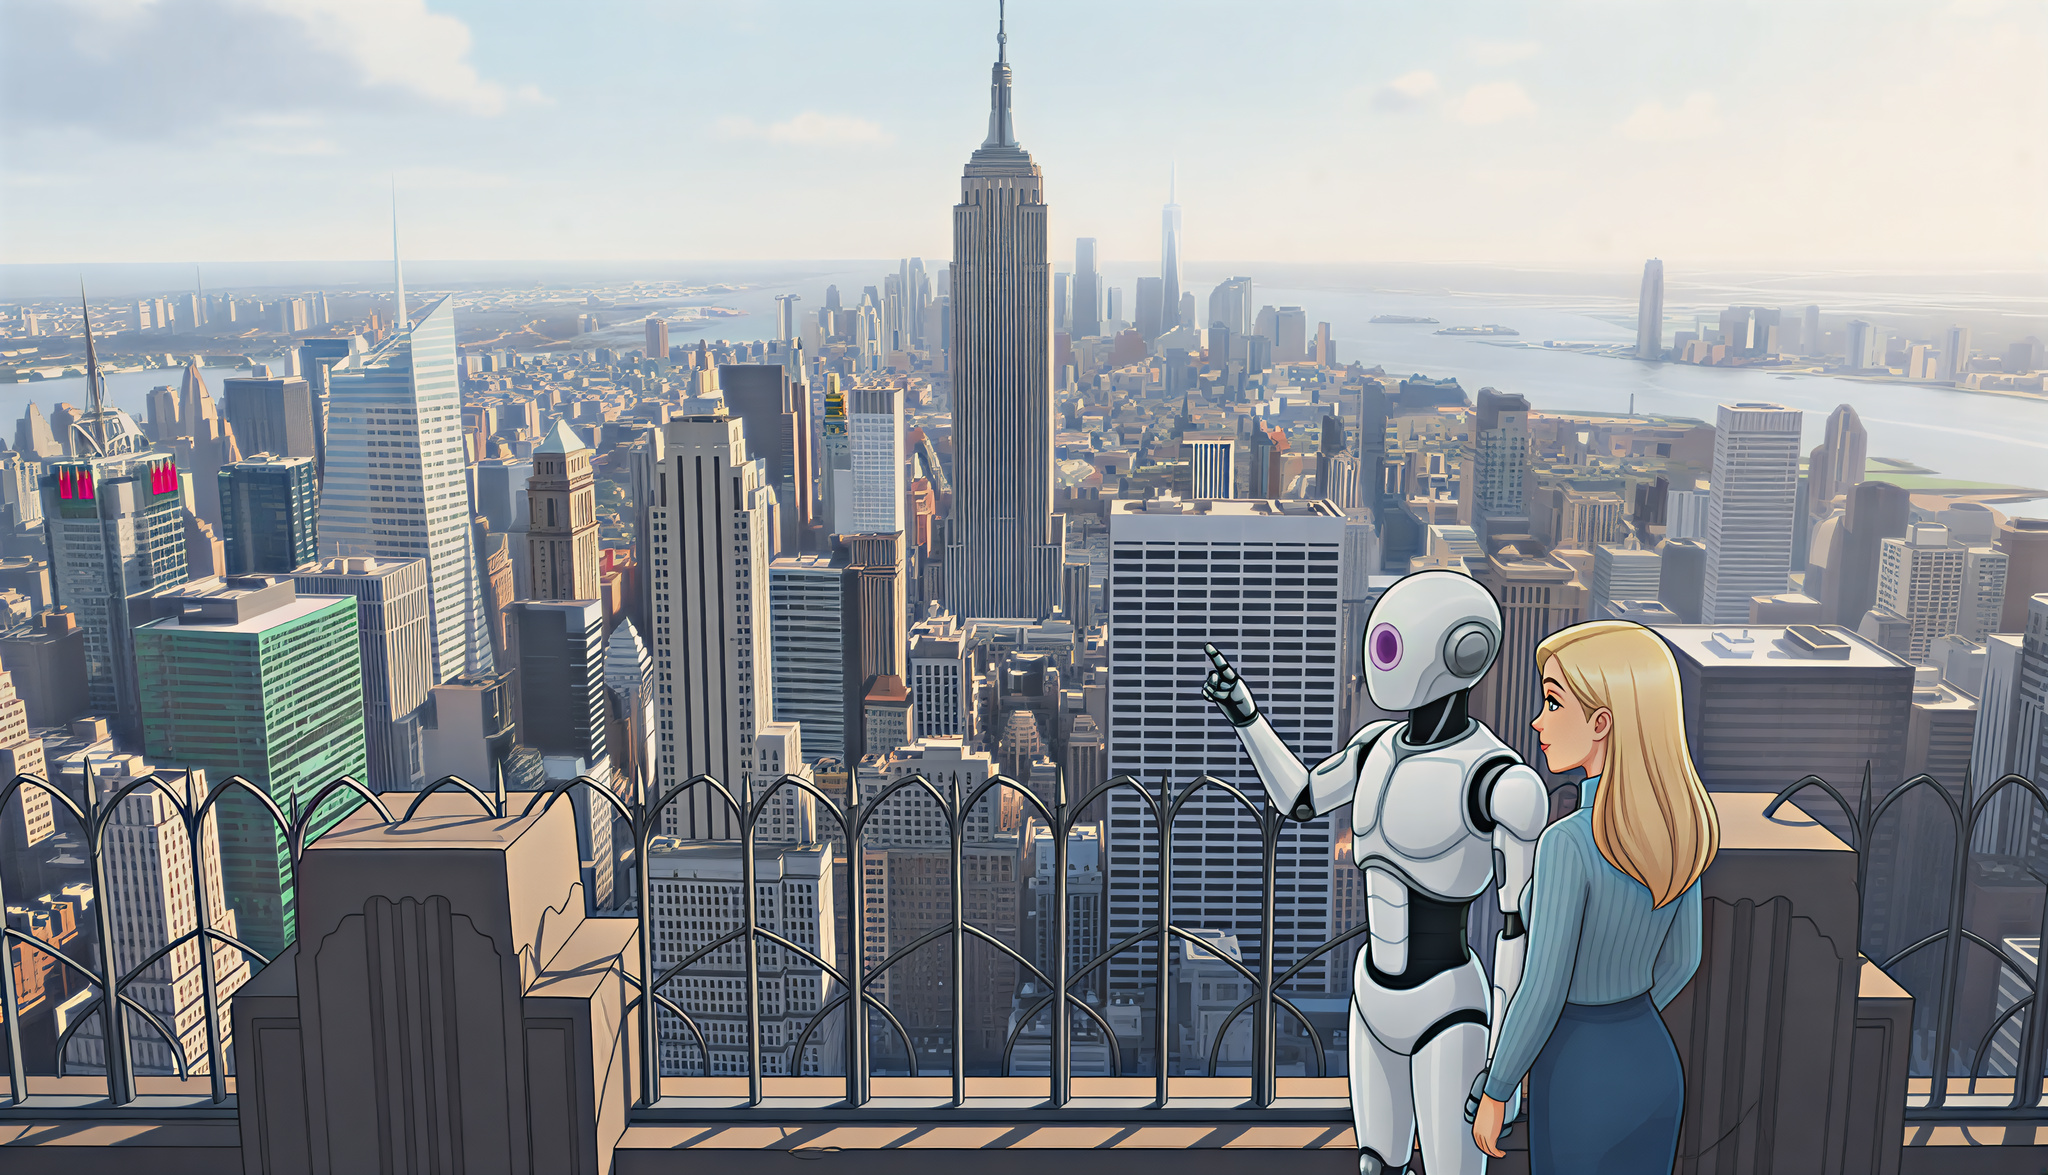
Above is a wide shot (WS) that shows how the characters are small in comparison to the vast city skyline.
A medium shot (MS) uses waist up framing that keeps some of the scale of the background behind the characters but makes them visually dominant in the image. The focus is clearly on the characters but they are still attached to the larger scene.
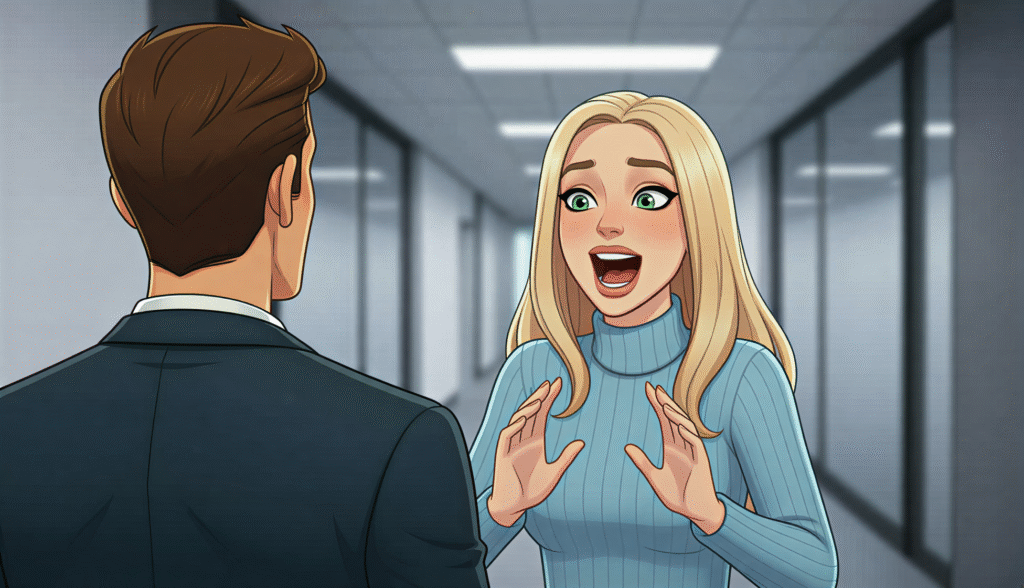
A medium close-up (MCU), puts the focus squarely on the subjects and compresses, blurs or obscures their environment.
This type of shot is great for conveying emotions and relationships allowing you to capture the story between characters. When you have two subjects it is called a two shot which you can add to your prompt. Three characters or more you can try saying group shot.
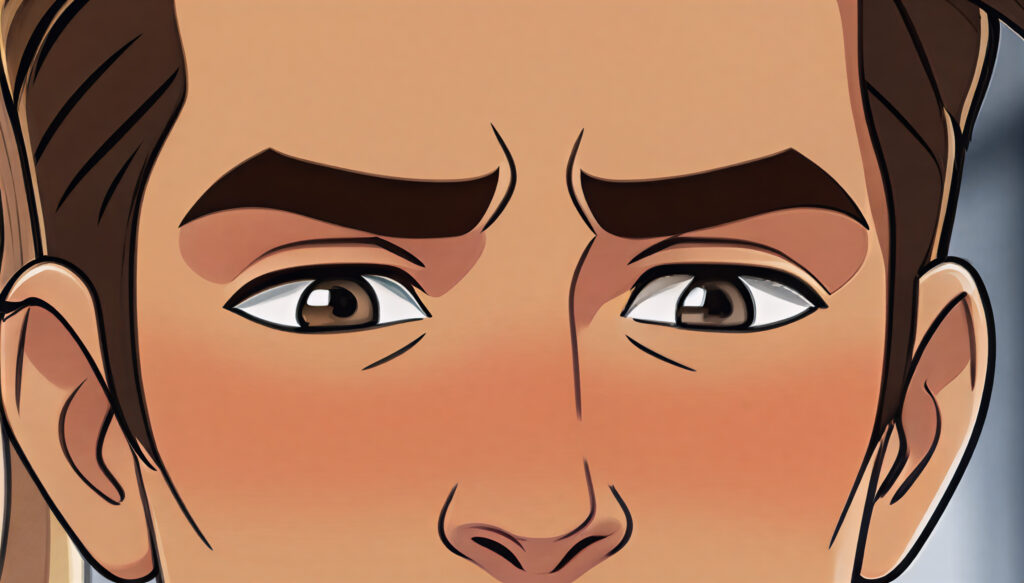
An extreme close-up puts all of the attention on single objects like a characters eyes or mouth or any other object important to telling a story. It removes all other visual stimuli pushing the viewer to an extreme state of focus and direction.
Combining Shots for Video
When making videos there is typically a pattern used to tell a story. A wide shot starts the scene, a medium shot brings attention to the subjects of focus. Then close ups and medium shots are used to narrow the focus and bring the viewers attention to smaller objects and details in a scene.
This could be a character’s faces, an object like a book or computer within a room or a flower in a forest. The viewers attention is directed, the background all but gone.
Combining these different shots together moves the viewer through the action.
Camera Angles: Changing Perspective and Emotion
Once you know which shot you want, you can use different camera angles to completely shift how an image feels.
Eye Level: Natural and neutral.
High Angle: Looks down on the subject; conveys vulnerability.
Low Angle: Looks up; adds power or drama.
Bird’s-Eye View / Overhead: From above, emphasizing geometry and layout.
Worm’s-Eye View: From below; adds awe and scale.
Dutch Angle (or Dutch Tilt): The camera is tilted diagonally, throwing the horizon off-balance. It creates tension, unease, or artistic distortion.
Over-the-Shoulder (OTS): Adds perspective in dialogue or storytelling scenes.
POV (Point of View): Shows what the subject sees — great for immersion.

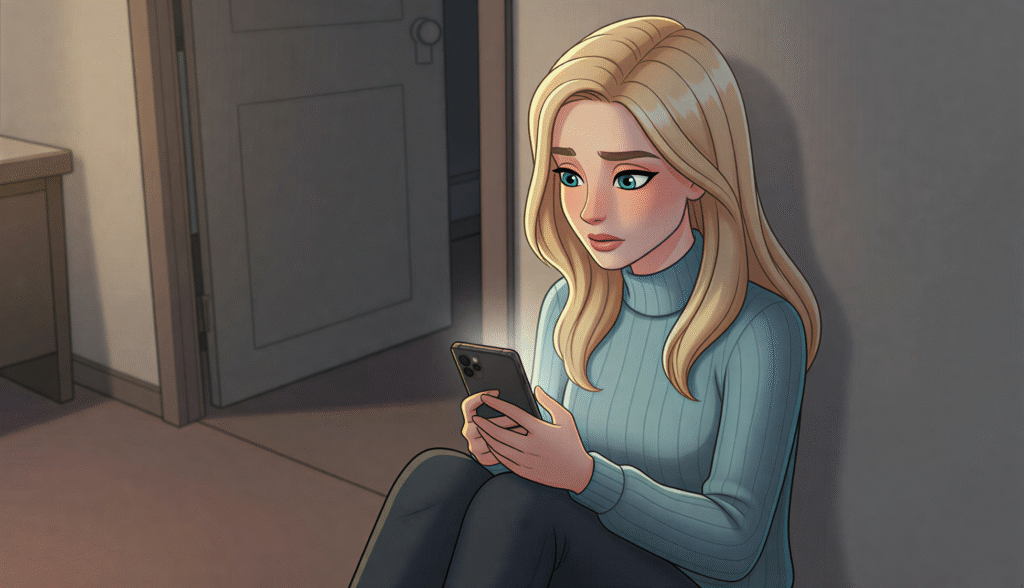
A eye level medium close up (MCU) shot showing the woman is part of the environment around her. It has a natural feel that keeps her and the surroundings connected.
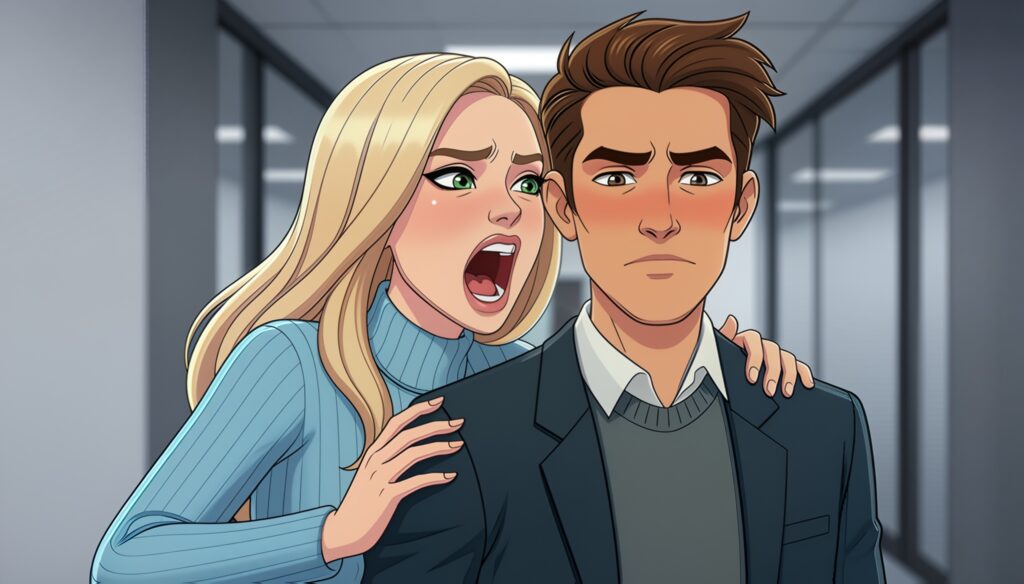
A high angle medium shot (MS) captures the character’s vulnerability while the slight dutch angle gives us a sense that something is amiss or askew.
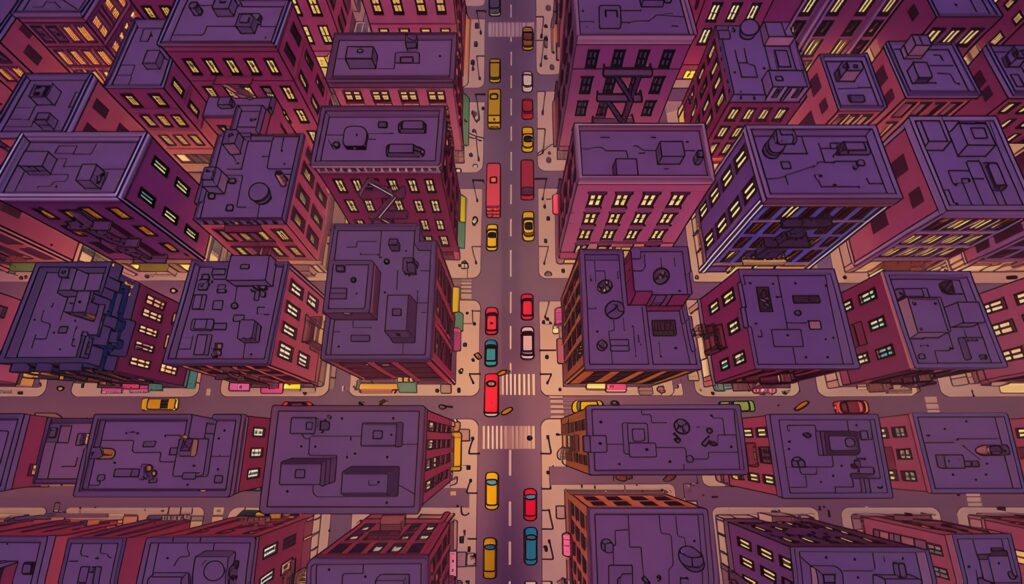
A birds-eye view of a city makes things that are big look small removing their individual distinction to show how they are part of a larger system.

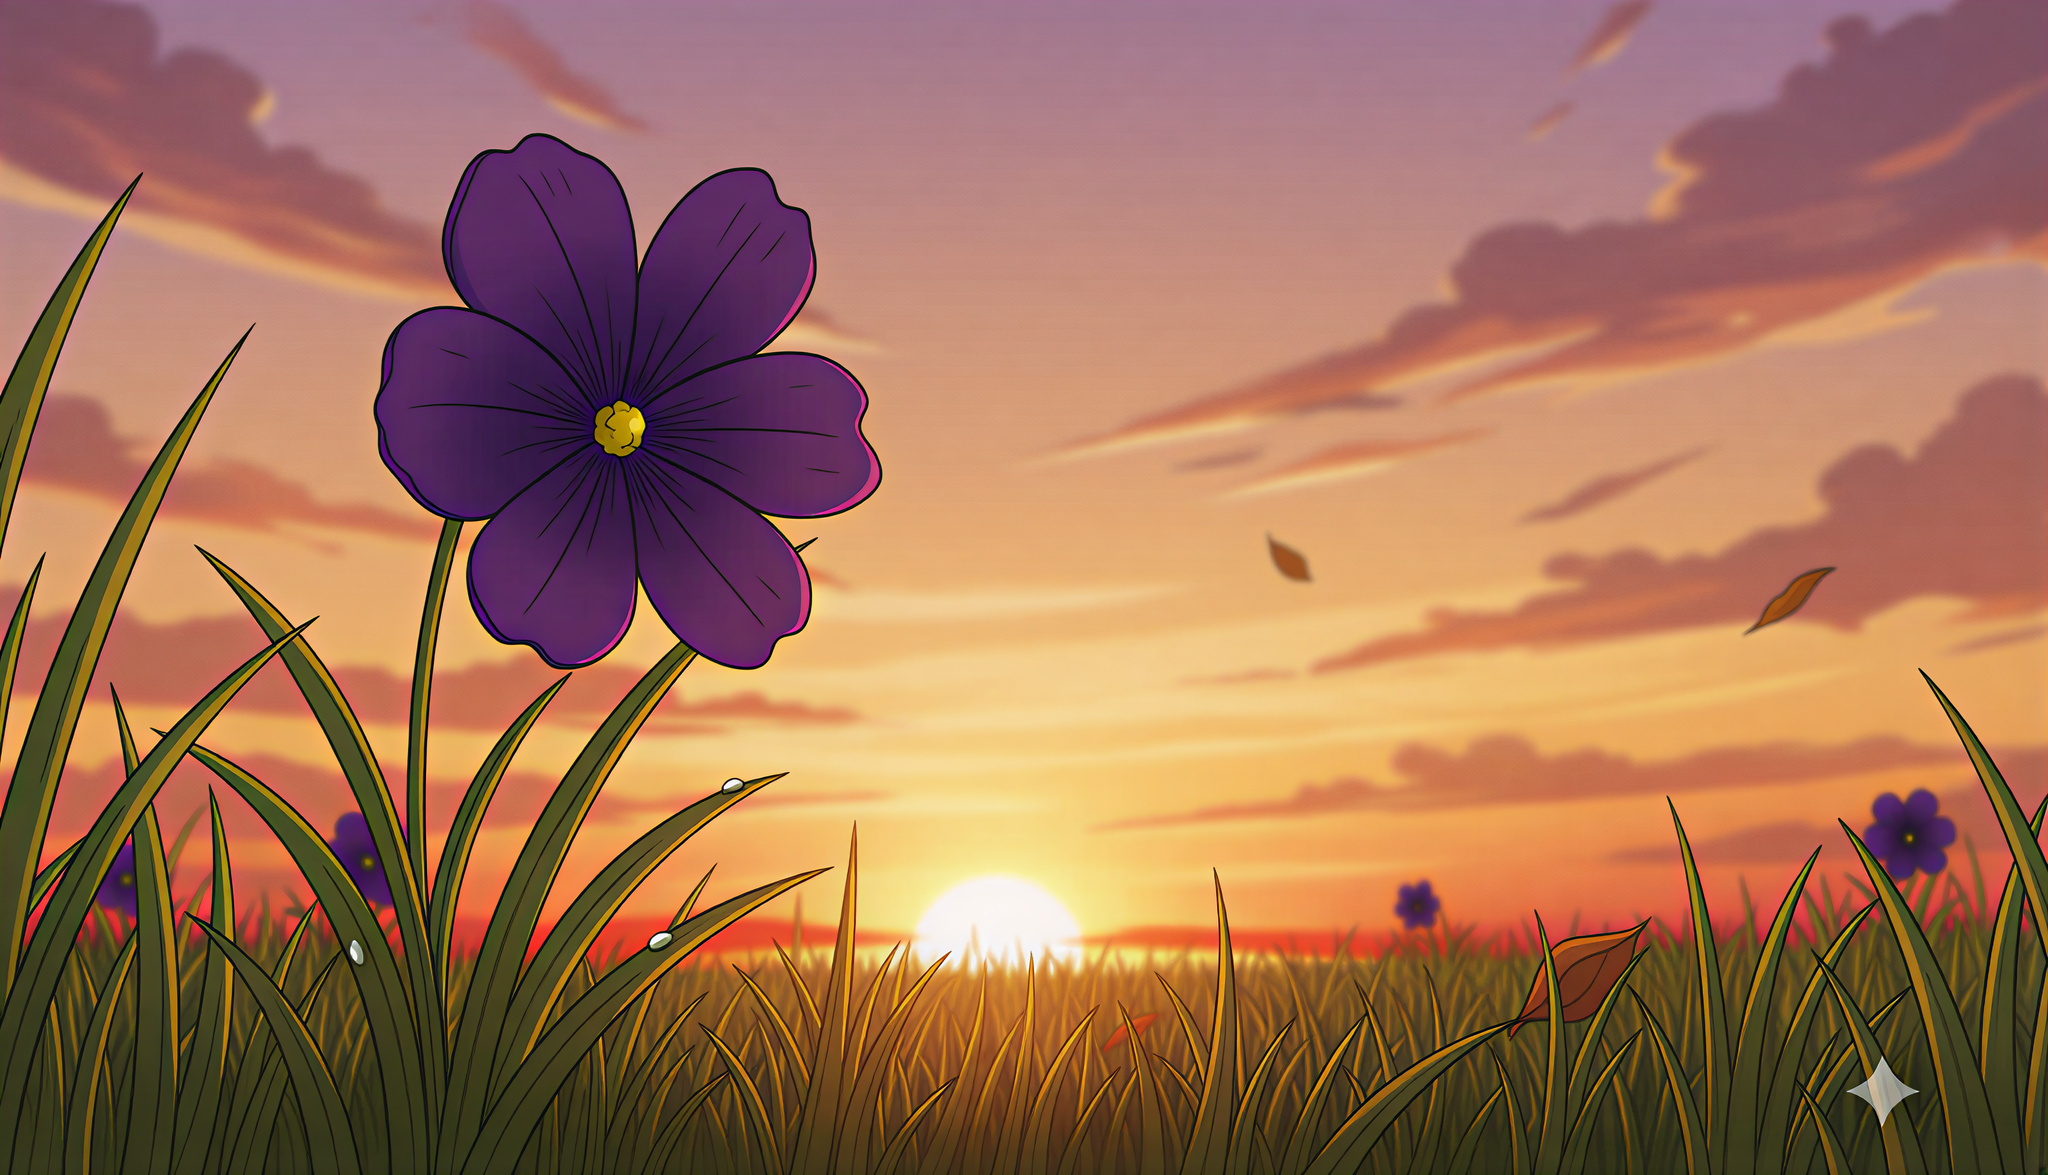
A worms-eye view of a purple flower at sunset displays the beauty of the flower and the awe and scale of the environment around it. This image makes something small look big while attaching it to the world around.
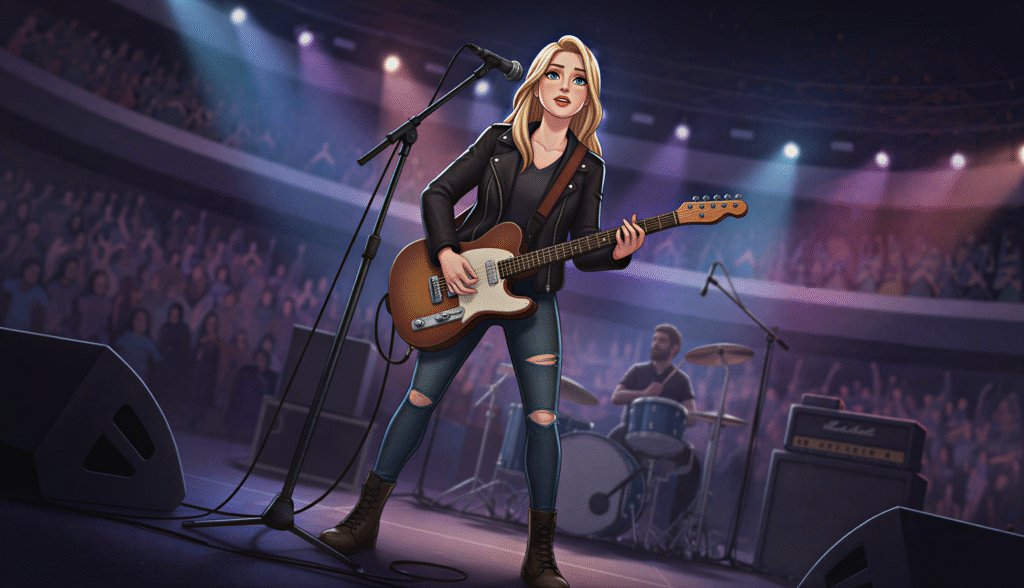
A low angle wide shot (WS) with a dutch angle gives the woman a sense of authority and power.
A over the shoulder shot adds perspective for storytelling purposes. Used often to capture conversation it puts the focus on the person speaking while also capturing their interactions with another character. When making videos you will likely want to cut a shot-reverse-shot sequence where you show one character over-the-shoulder of another, then reverse it for the other character over-the-shoulder and cut back and forth.
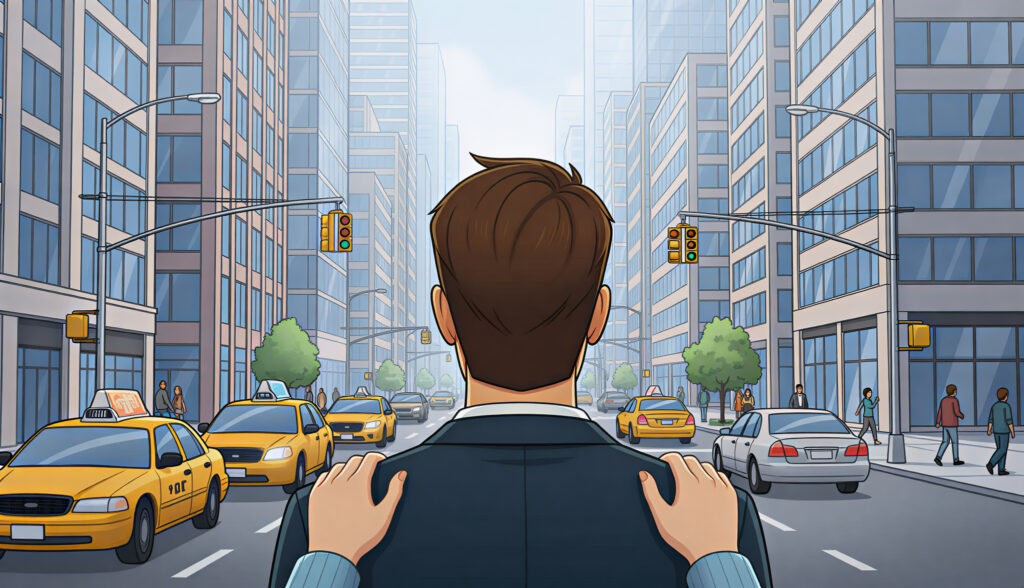
A point-of-view shot gives us a direct view into a character’s perspective. We see the world as they do.
Experiment & Observe
How can you use this information to grow?
Whenever you’re prompting AI think about the subject of the photo. Is it a person, is it a landscape, is it a small item. Then consider what you want to convey. Do you want a big thing to look small? A small thing to look big?
Do you want to disorient the viewer or make them feel calm? This will help you figure out how the image should be framed, what shot size to use and what camera angle to try.
Experiment. If you have a landscape, try a prompt at eye level, try a birds eye view, try a dutch angle. See what comes back until you get an image you’re happy with.
Finally it’s important to look at photos and movies and to study how the visuals are composed. Find shots you like and try to copy them with your own characters. You will see that many filmmakers and photographers, especially modern ones, pay homage to the past by replicating classic visual styles.
The list of shot sizes and angles noted in this post are by far the most common. Using nothing more than these alone would give you the ability to tell just about any story you want.
Once you master them you can go further and try more experimental cinema tricks.

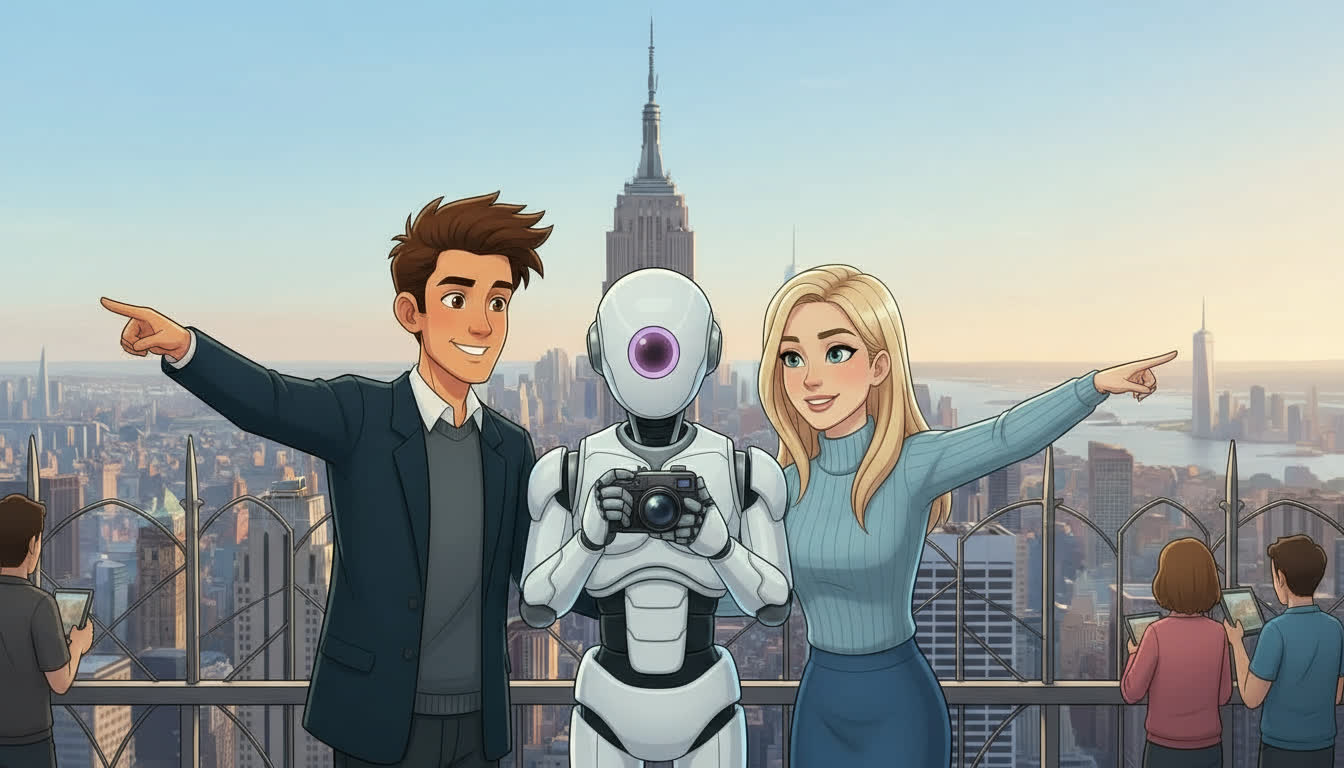
The above image uses two additional styles. The first is an attempt to recreate a filter on a camera lens called a split diaptor.
We’re telling one story but focusing on two parts of it at the same time. On the right the man and robot are also in focus and appear closer to the camera than they naturally would.
Additionally a vignette is applied. This gives us a sense that the shot is being scene through a peep hole or someone’s eyes narrowing our focus to the subjects in the image.
Final Thoughts
Using cinematic terminology in your prompts bridges the gap between AI artistry and traditional filmmaking. It allows you to create scenes that feel like stills from a movie rather than generic AI images.
Whether you’re generating content for marketing, concept art, or storytelling, mastering shot composition will give your work depth and emotion — and help AI understand the creative intent behind your words.
Now that you’ve learned about shots, take a dive into the next step, mastering cinematic lighting.